


Table of Contents
ToggleGone are the days when home security meant choosing between a camera hardwired to your router or forgoing coverage in remote yard areas. A 4G cellular security camera changes that equation by delivering remote monitoring without relying on Wi-Fi strength or internet reliability. Whether you’re protecting a property without broadband, monitoring a vacation home, or adding redundancy to an existing system, cellular cameras fill a real gap. This guide walks you through what these cameras do, how to choose one, what installation actually looks like, and what to budget for monthly service, all from a homeowner’s perspective.
Key Takeaways
- A 4G cellular security camera delivers independent remote monitoring without relying on Wi-Fi, making it ideal for dead zones, redundancy, and properties without broadband.
- Look for at least 2K resolution, solar charging capability, and low data usage (100–500 MB monthly for motion-only recording) to balance performance with battery life and costs.
- Before purchasing, verify cellular coverage at your exact mounting location using carrier coverage maps, as signal strength of at least 2 bars (−95 dBm) is essential for stable streaming.
- Installation takes 15–30 minutes per mount when using weatherproof hardware (stainless steel or galvanized brackets) and sealing exposed connectors with silicone grease to prevent moisture damage.
- Prioritize security by enabling two-factor authentication, using strong unique passwords, choosing cameras with HTTPS encryption, and storing local backups on microSD cards.
- Year-one costs average $410 ($250 hardware + $100 cellular service + $60 cloud storage), dropping to ~$160 annually thereafter, making cellular cameras economical compared to professional monitoring services.
What Are 4G Cellular Security Cameras and Why You Need One
A 4G cellular security camera operates on a wireless carrier’s network, think of it like a phone with a camera built in. Instead of uploading footage to the cloud via your home Wi-Fi, the camera pushes video directly to the cellular network, then to your phone or cloud storage. This independence from Wi-Fi is the whole point.
Why would you need one? Start with dead zones. Wi-Fi reaches only so far: a camera in a barn, back corner of your property, or vacation home might get nothing. Cell coverage, by contrast, extends almost everywhere. Second, reliability: if your internet goes down, a cellular camera keeps recording. Third, backup: even if you have Wi-Fi cameras, adding a cellular option gives you redundancy, if one system fails, the other still watches. Fourth, simplicity: no router tweaking, no port forwarding, no NAT issues. You get a camera, a SIM card, and direct network access.
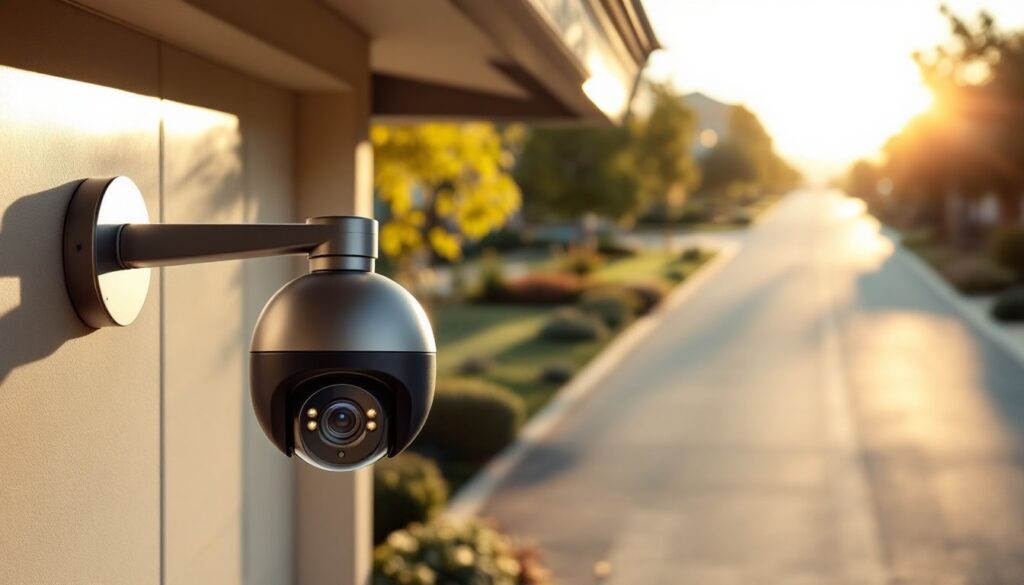
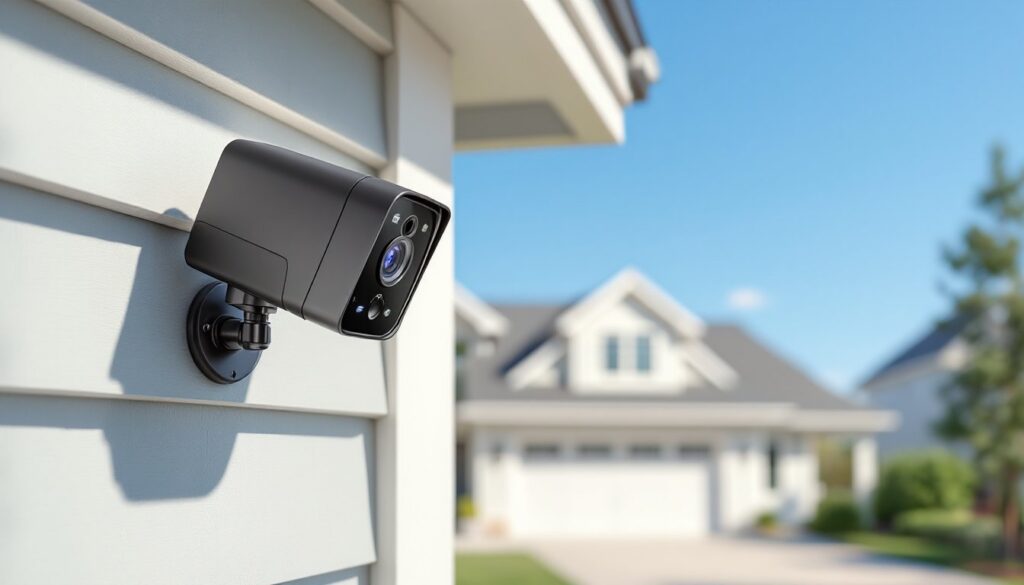
These cameras typically mount outdoors and run on rechargeable batteries or solar charging. Many are weatherproof, rated IP65 or higher, meaning they handle rain, dust, and temperature swings. Night vision (infrared or color low-light) is standard, and most record clips triggered by motion rather than 24/7, which conserves battery and data. They’re not a professional CCTV system, that’s a different league, but they’re far more flexible for DIY deployment than Wi-Fi cameras alone.
Key Features to Look For When Choosing a 4G Camera
When shopping, focus on practical specs that affect your real-world experience.
Resolution and Lens Quality matter for identifying faces or license plates. Look for at least 2K (2560×1920) recording: 4K is overkill for most DIY uses because it devours battery and data. Night vision clarity divides into infrared (black and white, works in total dark) and color night vision (uses ambient light, less range but shows colors). Infrared is standard: color night vision costs more and drains battery faster.
Battery Life and Charging directly affect how often you’ll climb a ladder. Solar panels help, cameras with integral solar pads last months between battery swaps. Plain battery-only cameras need charging every 1–3 months depending on usage. A 2000–5000 mAh battery is typical: higher is better if your mounting location gets poor sun.
Data Usage is critical because it dictates your monthly bill. Most cameras stream at 512 kbps to 2 Mbps depending on resolution and compression. Motion-only recording (not 24/7 livestream) keeps usage low, expect 100–500 MB per month if motion events are occasional. Continuous streaming burns 1–5 GB daily. Always clarify this before buying.
Storage Options come in three flavors: cloud (manufacturer’s cloud service, usually 7–30 days free, paid tiers run $3–$10/month), microSD card (local storage on the camera, 64–256 GB typical, encrypted), and cloud plus microSD (redundancy). For liability, local microSD backup is smart, if the cloud service goes down or the manufacturer shuts down, you still have footage.
Sim Card Type deserves a sentence: most 2024–2026 cameras use embedded eSIMs or removable nano-SIM cards. eSIM is cleaner (no slot to expose to moisture) but requires the manufacturer’s carrier partnership. Nano-SIM gives you carrier choice but adds a potential leak point. Check your camera’s design.
Network Connectivity and Coverage Options
Cellular cameras support different standards. LTE (4G) is standard as of 2026 and covers most areas: it’s mature and reliable. 5G is emerging but battery drain is higher and coverage gaps still exist outside major cities. For DIY installs, LTE is the safe bet. Before buying, check your carrier’s coverage map at the exact mounting location, drop a pin on Google Maps and verify on AT&T, Verizon, or T-Mobile’s coverage checker. Signal strength matters: you need at least 2 bars (−95 dBm) for stable streaming, though 3–4 bars is ideal.
Carrier partnerships vary. Some camera brands lock you into one carrier (e.g., Verizon-only). Others work with multiple carriers or let you choose your MVNO (prepaid cellular plan). MVNOs are cheaper but sometimes have slower data or weaker prioritization. A $5–$15/month cellular plan covers most DIY camera use: enterprise plans running $50+ are for companies deploying hundreds of units.
Wi-Fi hybrid models let your camera use Wi-Fi when available and fall back to cellular. This saves cellular data and battery. If your camera offers this, it’s worth the extra cost, you get the best of both worlds. Real-world example: a camera mounted near a guest house catches Wi-Fi range there but switches to LTE when you’re away.
Installation Tips for DIY Homeowners
Installing a cellular camera is simpler than running ethernet cable, but it’s not mindless. Site choice determines success.
Location Strategy: Mount at least 8–12 feet high, angled downward slightly to catch faces and vehicle details. Avoid pointing directly into sun (glare ruins footage) or dense trees (leaves obscure the lens). For solar models, orient the panel south and ensure it gets 4+ hours of direct sunlight daily. If you’re in a shadeless yard or perpetually cloudy climate, a non-solar camera with larger battery might suit you better. Test placement first, set up the camera temporarily with a telescoping tripod and review a few hours of footage. It sounds fussy, but it saves you from remounting after realizing the angle is wrong.
Mounting Hardware: Use stainless steel or galvanized brackets rated for outdoor use. Aluminum or untreated steel corrodes in months. Many cameras come with j-bolts (U-shaped bolts) or universal VESA mounts. If mounting to siding, use lag bolts or screws rated for the siding material: never rely on nails. For masonry or stucco, use concrete anchors and pre-drill to avoid cracking. Budget 15–30 minutes per mount if you’re not rushing.
Electrical Setup: Recharge batteries fully before first use (they ship partially charged). For solar models, familiarize yourself with the charging indicator, most have an LED that shows status. Weatherproofing is nonnegotiable: smear any exposed connectors with silicone grease (not silicone caulk, which sets hard and invites moisture). Some manufacturers include sealing tape or protective covers, use them.
Network Onboarding: Download the camera app and scan the QR code on the device. You’ll be prompted to add the SIM card (either pop the slot and insert a nano-SIM or activate an eSIM through the app). Connect to Wi-Fi initially if offered, this speeds up firmware updates and setup. Then register the camera with the manufacturer and set motion zones, notification preferences, and cloud storage. Testing is crucial: walk past the camera, trigger motion alerts, and confirm video quality on your phone from both Wi-Fi (simulating home use) and cellular (turn off Wi-Fi, use mobile data). These cameras are reliable, but confirming before weather hits saves headaches.
Security and Privacy Considerations
A camera that streams footage across the internet is only as safe as your setup.
Access Control: Use a strong, unique password (not your Wi-Fi password) for the camera’s app account. Enable two-factor authentication if the manufacturer offers it. A simple PIN or biometric unlock on your phone also prevents casual snooping if someone grabs your device. Change default passwords immediately, don’t assume the camera was secure from the factory.
Data Encryption: Reputable manufacturers encrypt footage in transit and at rest. Check the product specs: if it doesn’t explicitly say encryption is included, skip it. Recent reviews on home security cameras discuss security features in detail. Verify that your camera uses HTTPS (not plain HTTP) for cloud uploads and that microSD footage is encrypted too.
Privacy at Home: A camera pointed at a neighbor’s property or window is a legal minefield. Check your local laws, many states and cities require notification or consent. A camera in your own backyard is typically fine, but aim it at your property only. For renters, confirm with your landlord before installing.
Manufacturer Trustworthiness: Research the company’s history. Do they regularly patch security vulnerabilities? Have there been data breaches? Established brands with active communities and transparent security practices are safer bets than no-name knockoffs. CNET reviews and product recommendations provide vetted assessments of major brands. Also check privacy policies: some manufacturers sell anonymized footage or analytics to third parties. Read the fine print.
Local Storage Backup: Storing footage locally on a microSD card means footage doesn’t leave your property unless you access it remotely. This reduces reliance on cloud servers and is a privacy win. Use a high-endurance microSD card rated for dashcams or security use (not gaming cards, which aren’t built for constant write cycles), they cost a few dollars more and last 2–3x longer.
Cost and Data Plan Expectations
Price depends on features and capacity. Budget wisely.
Camera Hardware: Basic 2K cellular models run $150–$300: 4K or models with larger batteries and solar charging land $300–$600. Premium brands with integration into smart home ecosystems cost $400–$800+. None of these are cheap, but they’re durable investments if you buy from established manufacturers. Avoid the $50 special-deal cameras from unknown brands, they often have poor low-light performance, unreliable cellular connectivity, or cloud services that disappear when the company folds.
Monthly Cellular Service: A standalone LTE plan for a security camera costs $5–$15/month through MVNOs or carrier bundles. Verizon and AT&T offer dedicated IoT plans that’re slightly pricier but reliable. T-Mobile’s IoT plan is competitive. Over three years, that’s $180–$540, which isn’t trivial but spreads the cost. Some plans include a certain data allowance (e.g., 500 MB free, overages charged per GB): others are unlimited. For motion-only recording, you’ll rarely hit overages.
Cloud Storage Subscriptions: Free tiers typically hold 7–14 days of footage: upgrades offering 30–90 days run $3–$10/month. If you skip the cloud and use microSD only, you save money but forgo remote backup. Many homeowners use cloud for occasional clips (accidents, package theft) and microSD as the permanent record. A 64 GB microSD card stores roughly 30 days of motion-triggered 2K video, more than enough for DIY uses.
Total Year-One Cost Example: Camera ($250) + LTE plan ($100/year) + optional cloud ($60/year) = ~$410. Year two and beyond drop to ~$160/year (no hardware). Compare that to professional monitoring services at $30–$50/month, and cellular cameras are economical for property owners on a budget or those needing coverage in Wi-Fi-dead areas. Digital Trends’ coverage of smart home technology discusses cost-effective setups and emerging products if you want deeper options.
Conclusion
A 4G cellular security camera is practical for protecting property without Wi-Fi, adding backup coverage, or simplifying deployment. Choosing one comes down to confirming carrier coverage, selecting battery life and charging that fit your climate, and picking a manufacturer with a track record. Installation is a half-hour task if you’re comfortable with a drill and ladder: wiring is nonexistent. Security and privacy require attention, strong passwords and encryption matter. Cost is reasonable, especially over three to five years. Start by surveying your property, checking cellular coverage maps, and reading user reviews specific to your location’s network. A camera that works great for a Verizon customer in dense suburban coverage might struggle in rural T-Mobile gaps. Do that assignments first, pick your gear, and you’ll have reliable eyes on your property year-round.