

Table of Contents
ToggleMost homeowners think landscaping requires hiring an expensive contractor or sinking thousands into a professional redesign. The truth? You can transform your backyard into a functional, attractive outdoor space yourself, without draining your savings. DIY backyard landscaping isn’t just doable: it’s one of the most rewarding home improvement projects you can tackle. Whether you’re starting from scratch or refreshing an overgrown space, this guide walks you through planning, plant selection, hardscaping, drainage, and maintenance. Ready to get your hands dirty and create the yard you’ve always wanted?
Key Takeaways
- DIY backyard landscaping is achievable on a budget by planning carefully on paper, choosing climate-appropriate plants, and using affordable materials like gravel and mulch instead of expensive imported stone.
- Before digging, map your yard to scale, identify your USDA Hardiness Zone and soil type, and plan functional zones for entertainment, planting, and pathways to avoid costly mistakes.
- Native plants adapted to your local climate require less watering and maintenance; buying smaller specimens from local nurseries costs less and establishes faster than mature plants.
- Solve drainage problems with swales or raised beds before planting, and install affordable drip irrigation systems with battery-powered timers to reduce water waste by 25–50% compared to traditional sprinklers.
- Maintain your landscape year-round with seasonal tasks like refreshing mulch, pruning dead wood, and weekly walkthrough checks to fix small problems before they become expensive issues.
- Start with simple hardscape features like stepping-stone paths and DIY raised beds ($40–80) rather than poured concrete, and add finishing touches like focal points and lighting to transform your space without hiring contractors.
Plan Your Landscape Design Before You Dig
The biggest mistake DIYers make is grabbing a shovel before sketching a plan. Spend time measuring your space, noting sun exposure (full sun, partial shade, full shade), existing structures, and problem areas like wet spots or compacted soil.
Grab graph paper or use a free online tool to map your yard to scale. Mark the house footprint, trees, fences, and utilities. Then think about zones: entertainment areas, planting beds, pathways, and maybe a small vegetable garden. Don’t overcomplicate it, simple, functional designs beat trendy layouts that need constant fiddling.
Consider sight lines from your patio and windows. You want visual interest without clutter. Think about traffic flow too, where do people naturally walk? That’s where your paths should go. When planning outdoor patio design, remember that a clear design on paper prevents costly mistakes in the field.
Before starting, identify your climate zone (USDA Hardiness Zone is a good reference) and your soil type. These two factors drive everything else in your landscape plan.
Choose the Right Plants and Materials for Your Climate
Choosing plants that don’t match your climate is money thrown away. A tropical shrub won’t survive a cold winter, and a shade-loving groundcover will struggle in scorching afternoon sun. Stick to native plants when possible, they’re adapted to local moisture, temperature, and soil conditions, so they need less watering, fertilizing, and fussing.
Visit local nurseries and ask staff what thrives in your area. Buy small plants (4-inch pots) rather than mature specimens if you’re budget-conscious: they cost less and establish faster than you’d expect. Group plants by water needs, don’t mix succulents with hydrangeas.
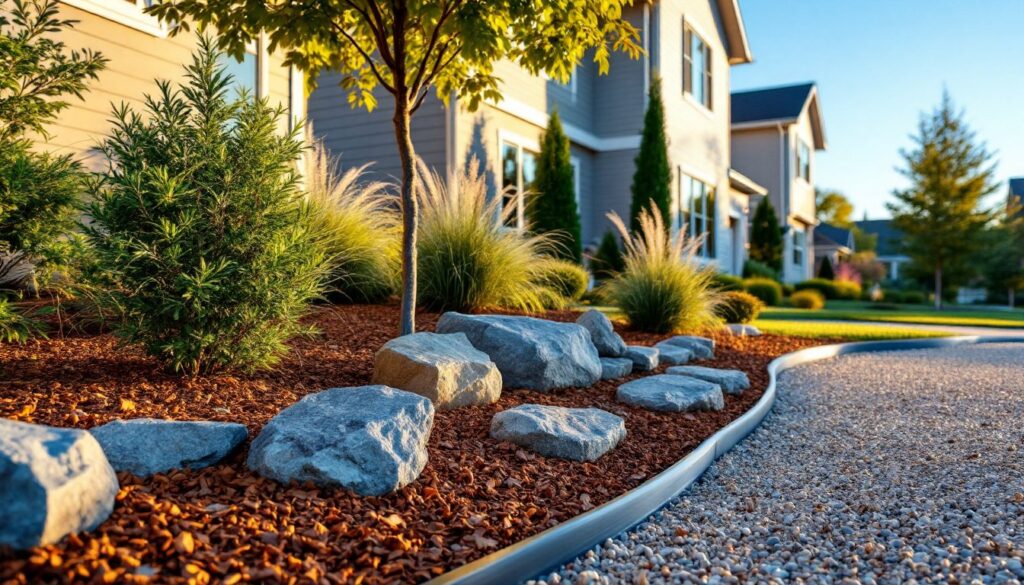
For hardscape materials, gravel, mulch, and locally sourced stone cost far less than imported pavers. Landscaping gravel types vary in durability and aesthetic, so choose based on your climate and maintenance tolerance. Standard bark mulch (2–3 inches deep) suppresses weeds and regulates soil temperature: refresh it annually.
Buy soil amendments in bulk if you’re working a large area. Compost, peat moss, or composted bark improve drainage and nutrient content, essential if your native soil is clay-heavy or sandy.
Create Hardscape Features Without Breaking the Bank
Hardscape, paths, edging, and raised beds, defines your landscape and makes maintenance easier. Simple stepping-stone paths (flagstone, pavers, or recycled materials set in sand) cost a fraction of poured concrete and look intentional, not cheap.
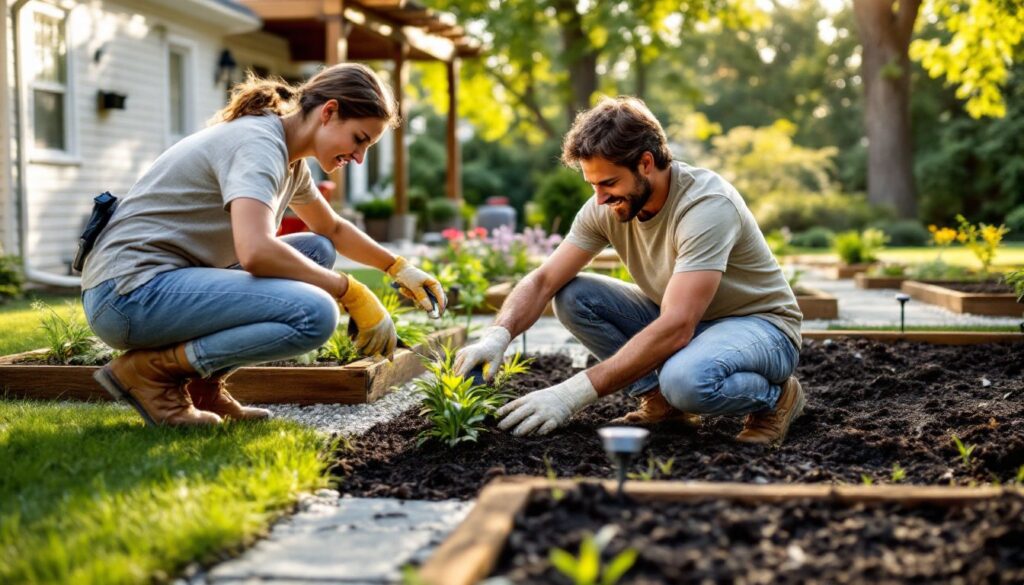
Raised beds solve poor soil and allow DIY-friendly customization. Build them from untreated cedar or composite lumber (nominal 2×6, actual 1.5 inches thick by 5.5 inches tall). Nail or screw four boards together, line the bottom with hardware cloth to keep out burrowing pests, fill with a mix of topsoil and compost, and plant. A 4-by-8-foot bed costs $40–80 in materials and takes one afternoon to build.
Retaining walls handle slopes and erosion. Dry-stacked stone or landscape blocks don’t need mortar or a permit for walls under 2–3 feet (check local codes). Use a level, backfill with gravel, and compact every few inches. For walls taller than that or near structures, hire a professional, failure is dangerous and expensive.
Edging keeps mulch from spilling into grass. Landscape fabric stapled to stakes works. Metal or plastic edging is more finished and costs $0.50–$2.00 per linear foot. Skip expensive poured concrete until you’re confident about your layout.
Install Drainage and Irrigation Systems
Poor drainage ruins landscapes and homes. Before planting, observe where water pools after heavy rain. If water sits more than a few hours, you need a solution, raised beds, swales (shallow channels directing water), or subsurface drainage.
Swales are cheap and effective: dig a gentle downhill channel 6–12 inches deep and 2–3 feet wide, plant it with water-tolerant plants (sedges, willows), and let it absorb runoff. No permit needed: it’s just sloped ground with vegetation.
For irrigation, drip lines beat sprinklers. They deliver water directly to plant roots, reducing waste and disease. Basic drip kits (hose, emitters, timers) cost $50–150 for small yards. Bury the line 2–4 inches deep under mulch or thread it across planting beds. Connect to an inexpensive battery-powered timer on your outdoor faucet and water deeply but less often, it encourages deep root growth and drought resilience.
If you’re in a water-restricted area, look into rain barrels. A 50–100-gallon barrel ($100–200) collects roof runoff and stores it for dry spells. Even a single barrel offsets irrigation costs and reduces municipal water use. Recent studies on garden water conservation show efficient irrigation cuts outdoor water demand by 25–50%.
Add Finishing Touches and Garden Features
Once the bones are in place, details transform a yard. Mulch all planting beds to a consistent 2–3 inches deep (more chokes perennials and trees). Refresh annually as it breaks down.
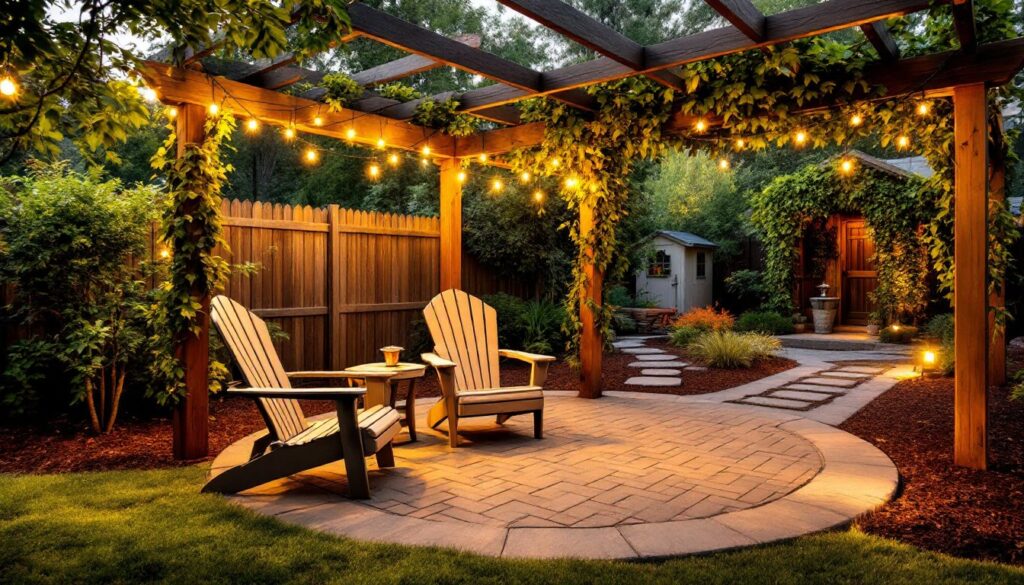
Consider focal points: a small water feature, a seating area, or a simple arbor over a pathway. A DIY arbor costs $30–80 in lumber and adds vertical interest without fancy design. Place it where you want to pause and look around, the end of a path or near a seating spot.
Edges matter. Clearly defined borders between lawn and beds look intentional and reduce mowing time. Use edging material, or hand-cut clean lines with a sharp spade every spring.
Ornamental grasses, flowering perennials, and groundcovers add texture and color without complicated care. Mix heights and bloom times so you have interest spring through fall. Creative landscaping balances structure and softness.
Lighting (string lights, solar path lights, uplighting on trees) extends usable hours and sets mood. Solar lights need no wiring and cost $2–10 each. Stake them along pathways for safety and ambiance.
Maintain Your New Landscape Year-Round
Installation is half the battle: maintenance keeps it looking intentional. Spring cleanup: remove winter debris, prune dead wood, refresh mulch. Summer: water deeply but less frequently (morning watering reduces disease), deadhead spent flowers to encourage blooms, pull weeds before they seed.
Fall is the ideal time to plant trees and shrubs, cooler weather and fall/winter moisture help them establish. Cut back perennials and grasses, divide overgrown clumps, add a layer of compost around beds.
Winter: in cold climates, mulch tender perennials, protect exposed roots with straw, and prune only dead wood (fresh cuts in winter can freeze-damage new growth). In mild zones, keep watering established plants during dry spells.
Schedule a quick walkthrough each week: spot weeds, check soil moisture, and note any plants struggling. Fixing small problems before they’re big saves time and money. Keep mulch away from tree trunks (mounding causes rot and invites pests) and avoid over-fertilizing, it promotes weak growth and attracts pests.
Document your plantings in a simple notebook or phone photos. Note bloom times, water needs, and the date installed. This becomes invaluable when troubleshooting or planning next year’s additions. Most DIY landscapes look their best 2–3 years after installation, once plants fill in.
Conclusion
Transforming your backyard into a personalized outdoor space is achievable without a contractor’s budget. The key is thoughtful planning, climate-smart plant choices, and honest maintenance. Start small, build on successes, and don’t be afraid to adjust plans as you learn what works. Landscaping on a budget is as much about patience and observation as it is about elbow grease. Your landscape will evolve, and that’s the beauty of doing it yourself.