

Table of Contents
ToggleBuilding a functional and attractive backyard patio doesn’t require a contractor’s budget or landscape architecture degree. Whether homeowners are starting with bare ground or refreshing an existing space, smart planning and strategic choices can transform a yard into a welcoming outdoor living area that works across seasons. This guide walks through practical steps to design and carry out backyard patio landscaping that fits real budgets and stands the test of time, no expensive overhauls required.
Key Takeaways
- Successful backyard patio landscaping starts with planning: assess sun exposure, water drainage, and available space before selecting plants or laying pavers.
- Choose native plants suited to your USDA hardiness zone to reduce maintenance costs and ensure year-round interest with perennials, evergreens, and seasonal accents.
- Hardscaping elements like pavers, pathways, and edging provide structure and prevent turf creep while offering better long-term value than constant mulch replacement.
- Add functional comfort with budget-friendly seating, shade options like pergolas or shade sails, and focal point features such as fire pits or water features.
- Layer your design incrementally: start with essential bones (paving, seating, one focal point), then add plantings and decorative touches as budget allows.
- Incorporate lighting with solar path lights and string lights to extend usability into evening without expensive electrical work or permits.
Plan Your Patio Layout and Assess Your Space
Before picking a single plant or laying pavers, spend time understanding what the space actually needs. Walk around the yard at different times of day to map sun exposure, a patio that sits in full shade at 3 p.m. demands different plant choices than a sun-blasted corner. Note where water pools after rain, where existing structures cast shadows, and which areas already have natural windbreaks.
Measure the footprint available. Standard patio sizing works around usable square footage: a seating area for four people needs roughly 100 square feet, while a dining zone adds another 150 to 200 square feet. Sketch a simple overhead view on graph paper. This isn’t about creating museum-quality plans, just marking existing trees, structures, utilities (check for buried lines before digging), and traffic patterns.
Decide the patio’s primary function. Is it a quiet reading retreat, a spot for entertaining, or a work-in-progress garden lab? This shapes everything from layout to plant placement. Setting a realistic budget up front also steers material choices and prevents scope creep halfway through.
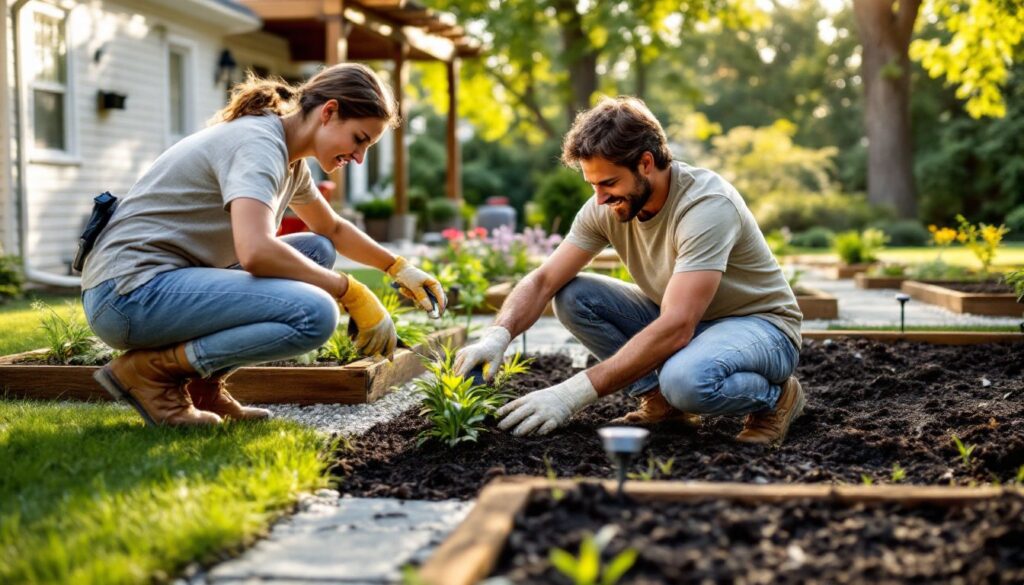
Select Plants and Greenery That Thrive in Your Climate
Plant success hinges on matching species to local growing conditions. Shoving a tropical specimen into a cold-climate zone wastes money and looks sad by mid-summer. Start by identifying the hardiness zone (USDA zones run from 1 to 13) and research native plants for that region, they’re adapted to local rainfall, temperature swings, and soil type, making them naturally more affordable to maintain.
Visit local nurseries and ask staff what actually thrives without fussing. Those recommendations beat any trending social media list. Buy smaller plants when budget allows: they establish faster and cost less than mature specimens. Space them further apart than the label suggests, overcrowding invites disease and wastes money on unnecessary plants.
Choosing Year-Round Perennials and Seasonal Accents
Perennials return each year, reducing annual replanting costs. Mix evergreens (which provide structure and winter interest) with deciduous shrubs that leaf out in spring. Use seasonal annuals and bulbs as inexpensive accents. Spring bulbs like tulips and daffodils (planted in fall) cost a few dollars per dozen and deliver color before perennials wake up. Summer annuals fill gaps and offer continuous blooms: deadheading spent flowers extends their show.
Edge planting beds with low-growing perennials or shrubs to define zones without expensive fencing. Group plants by water needs, drought-tolerant plants together, moisture-lovers in another zone, so irrigation is efficient and watering mistakes are less likely. This approach landscape design that balances seasonal interest without requiring seasonal replanting.
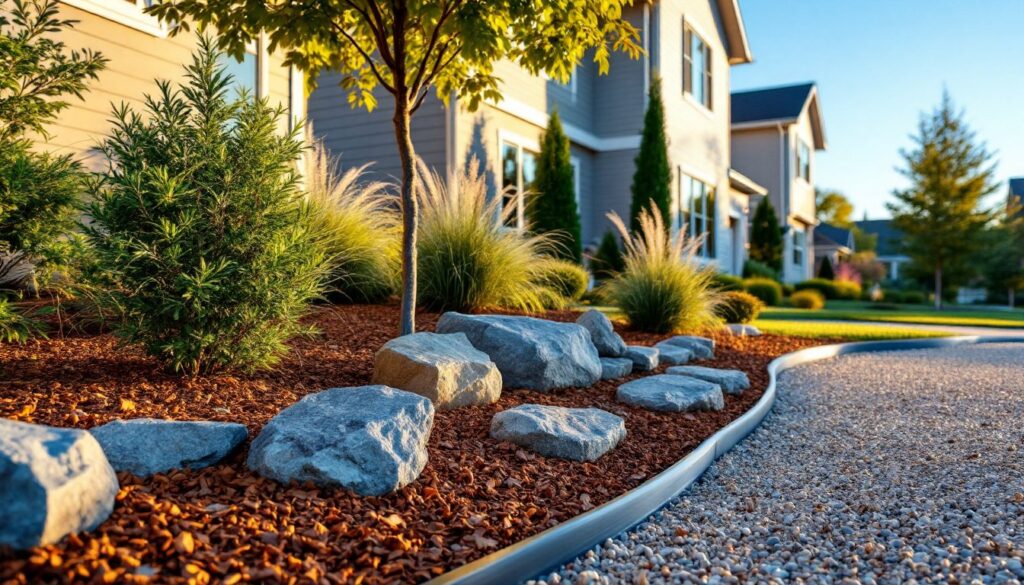
Create Hardscaping Features for Structure and Function
Hardscaping, the non-plant elements, provides the patio’s bones. Paths, borders, and edging prevent turf from creeping into beds and define usable space without fencing or wall construction. Landscaping gravel types like crushed stone or pea gravel are cheap, easy to spread, and work well in informal settings. Mulch (shredded bark or wood chips) is similarly budget-friendly and insulates plant roots during temperature swings.
Pavers or stepping stones cost more upfront but require no annual replacement. Concrete pavers start around $1 to $3 per unit depending on size and finish. Bricks for landscaping offer a classic look: standard sizes cost roughly $0.50 to $2 each. Recycled or reclaimed brick is often cheaper and adds character. Lay pavers in sand over a compacted base (4 inches of gravel, tamped down) rather than concrete for easier future adjustments and better drainage.
Pathways, Borders, and Edging Solutions
Pathways guide movement and prevent worn tracks through planted areas. A single stepping-stone path from the patio to a focal point (tree, seating area, or garden bed) costs under $50 and instantly organizes the space. Lay stones at comfortable walking stride (about 24 inches apart) on leveled ground or sand.
Borders and edging define beds cleanly. Steel or aluminum landscape edging ($0.50 to $1 per linear foot) looks modern and keeps mulch contained. Stone edging is pricier but offers character. Plastic edging is the budget choice but degrades quickly in sunlight. For informal cottage-style gardens, edging is optional, let plants soften boundaries naturally.
Consider hardscaping as investment spending. A well-built pathway or border lasts years without maintenance, while constant mulch replenishing or border repair costs accumulate.
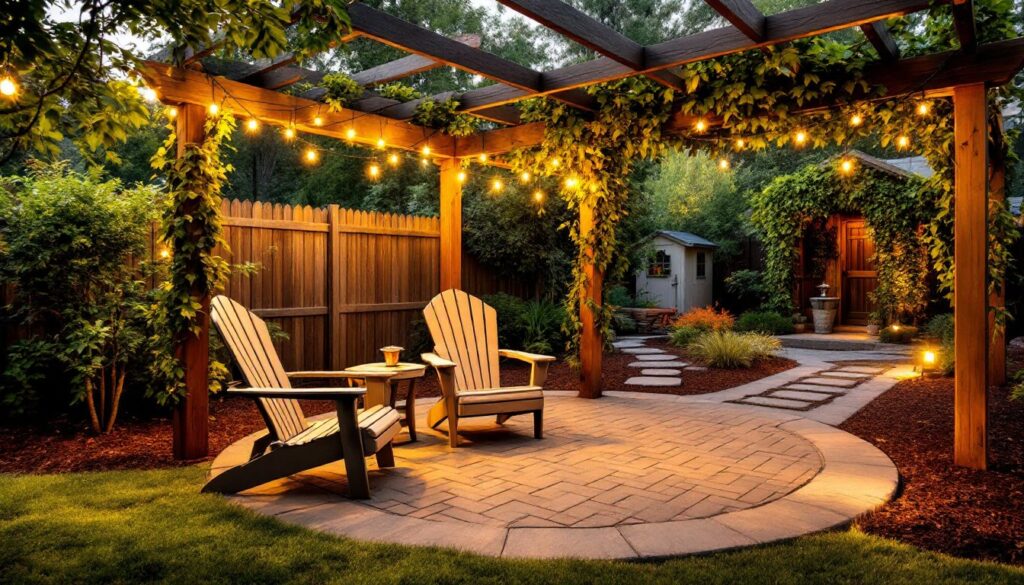
Add Seating, Shade, and Outdoor Living Elements
Seating transforms a bare patio into a usable retreat. A simple wooden bench (built or purchased for $100 to $400) anchors a quiet corner. Plastic Adirondack chairs cost $30 to $80 and require zero maintenance. Mix seating types, one permanent bench, a few movable chairs, so the space adapts to different uses.
Shade is essential for summer comfort and extends the usable season. A pergola (open-top structure) costs $300 to $1,000 for a basic 10-by-10-foot build or kit, and climbing vines add natural cooling once established. Shade sails (tensioned fabric triangles) run $100 to $400 and deploy quickly. A simple umbrella ($50 to $150) works for smaller seating areas.
Outdoor living elements like a fire pit or low water feature add coziness without major construction. A metal fire ring costs $50 to $200 and sits on gravel or pavers. A small recirculating fountain (tabletop or freestanding) runs $100 to $300 and brings calming water sounds. Both are instant focal points that draw the eye and make the space feel intentional.
Incorporate existing structures into the design. A shed becomes a backdrop rather than an eyesore when landscaped with shrubs and climbing plants. A fence boundary can anchor tall grasses or climbing vines for privacy and softness.
Lighting, Water Features, and Final Touches
Outdoor lighting extends usability into evening and adds ambiance. Solar path lights ($2 to $8 each) line walkways with zero electrical work. String lights ($30 to $80 for a 20-foot span) create instant atmosphere over seating areas or dining zones. Low-voltage LED spotlights ($15 to $50 each) highlight focal points like trees or water features without high electricity costs. All are DIY-friendly, no permit or licensed electrician needed for most solar and low-voltage systems.
Water features calm the senses and mask neighborhood noise. A small stone birdbath ($40 to $150) combines function with visual interest. A recirculating stream or pond (even 4 feet long) creates movement and sound: kits run $200 to $500 and require only a level spot and electrical outlet nearby.
Final touches tie zones together: decorative planters, garden ornaments, or a small herb bed near the seating area. These don’t need to be expensive, thrifted pots painted fresh and clustered by the patio entry cost almost nothing but feel polished. Consider adding dining capability with outdoor kitchen setups for more upscale entertaining, but start simple if budget is tight.
Research hardscaping design inspiration and home improvement trends to spark ideas, but don’t feel pressured to copy everything. A cohesive patio reflects its owner’s needs and grows over time. Start with bones (paving, basic seating, one focal point), then layer in plantings and accessories as budget allows. Test different layouts by moving pots and temporary seating before committing to permanent installations.