

Table of Contents
ToggleRock landscaping has moved beyond the basic mulch-bed placeholder to become a legitimate design element in modern backyards. Whether you’re managing drainage issues, creating visual interest on a tight budget, or building a low-maintenance yard, rocks offer practical solutions with genuine aesthetic appeal. Unlike plants, rocks don’t require watering schedules or seasonal replacement, and they complement virtually any architectural style, from contemporary minimalist to rustic cottage. The challenge isn’t finding rocks: it’s choosing the right types, arranging them purposefully, and maintaining them so they stay looking sharp year after year. This guide covers seven creative rock landscaping approaches you can build yourself, along with practical advice on materials and upkeep.
Key Takeaways
- Backyard rock landscaping ideas provide durable, low-maintenance design solutions that reduce water consumption, suppress weeds, and work in any climate or architectural style.
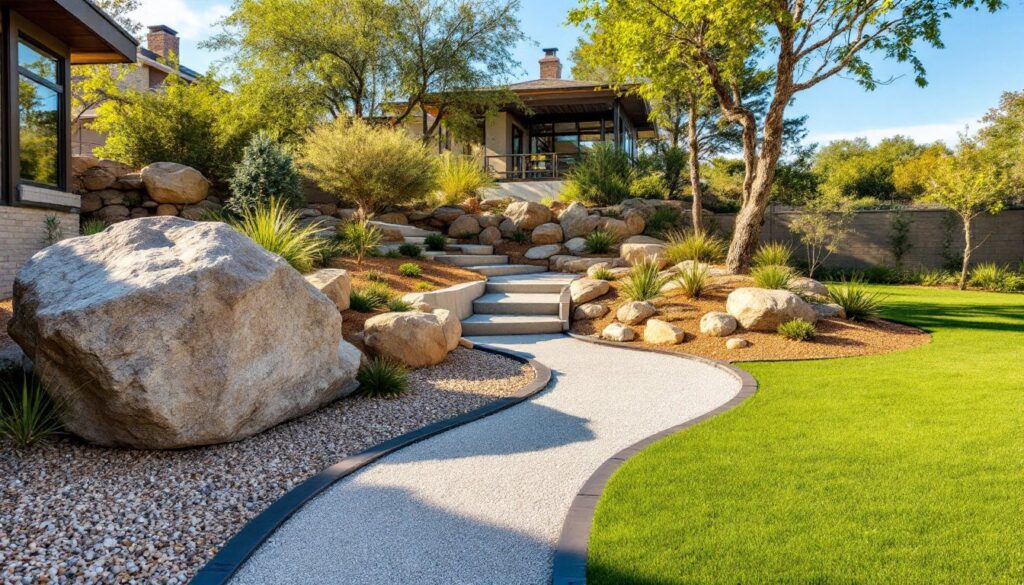
- Choosing the right rock type—gravel for pathways, river rocks for accents, and boulders for focal points—creates visual depth and prevents monotonous, flat landscaping.
- Install landscape fabric before spreading gravel to cut weeding by 70% and prevent rocks from sinking into soil over time.
- Popular rock landscaping styles including Japanese gardens, dry creek beds, xeriscaping, and boulder focal points can be built and customized by DIY homeowners with basic tools.
- Maintain rock landscapes by clearing debris monthly, hand-pulling weeds, raking after heavy traffic, and topping up gravel every 2–3 years to preserve appearance and functionality.
Why Choose Rock Landscaping for Your Backyard
Rock landscaping solves real problems. It eliminates the expense and maintenance of constant plant replacement, reduces water consumption (critical in drier climates), and creates permanent structural definition in your yard. Rocks also suppress weeds more effectively than mulch alone, since they don’t decompose and invite seeds to settle.
From a design perspective, rocks add texture, color variation, and focal points without relying on seasonal blooms. They work in sun or shade, survive harsh winters, and need no fertilizer or pest management. This makes rock landscapes especially appealing to busy homeowners or those in regions with poor soil conditions.
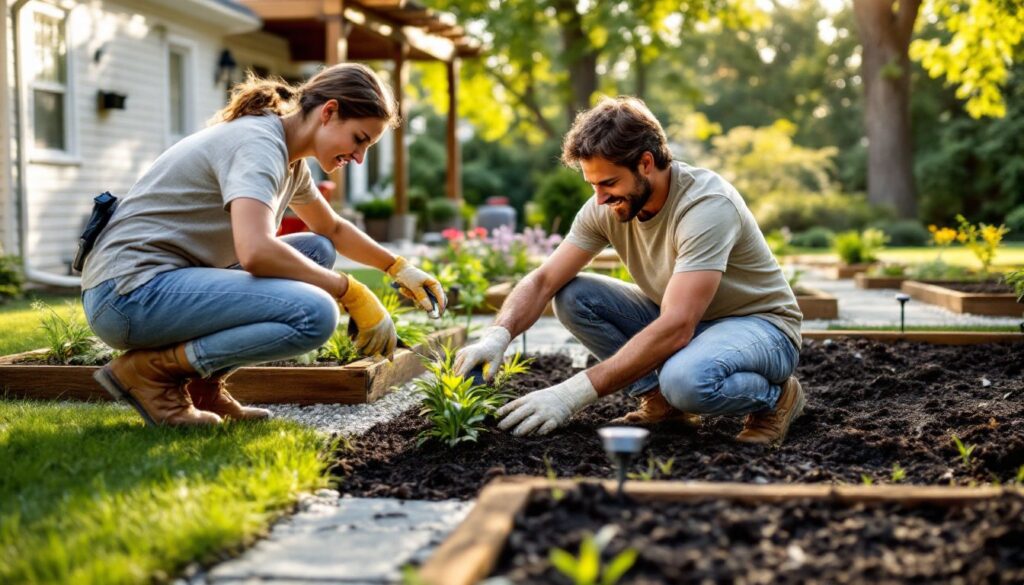
There’s also honest cost advantage. A load of gravel or river rocks costs considerably less than equivalent landscaping with mature plants, and installation is DIY-friendly. Most rock projects require only basic tools, a shovel, level, and wheelbarrow, rather than specialized equipment or expertise. Prep work (clearing, leveling, and weed cloth) matters more than skill.
Popular Rock Types and Their Best Uses
Choosing the right rock type depends on your goals. Some rocks anchor a design: others fill space efficiently. Mixing types, say, large boulders with smaller gravel, creates visual depth and prevents the landscaping from feeling flat or monotonous.
Gravel and Crushed Stone for Pathways and Beds
Gravel and crushed stone are the workhorses of rock landscaping. Pea gravel (small, smooth stones, typically ½ inch diameter) is comfortable to walk on and works well in seating areas or around play spaces. Crushed granite or crushed limestone (angular, ¾ to 1½ inch) compacts firmly, making it ideal for pathways where you want a stable surface that won’t shift under foot traffic.
When ordering gravel, specify the size and ask about coverage rates, most suppliers quote per ton or cubic yard. A typical application depth is 2 to 3 inches: going thinner exposes the soil beneath and requires frequent topping up. Plan for 100 square feet needing roughly 1 ton of gravel at 3-inch depth.
Install landscape fabric (a permeable weed barrier) before spreading gravel. This single step cuts weeding by 70% and prevents gravel from sinking into soil over time. Lay it flat, overlap seams by 6 inches, and pin or stake it down before adding rock.
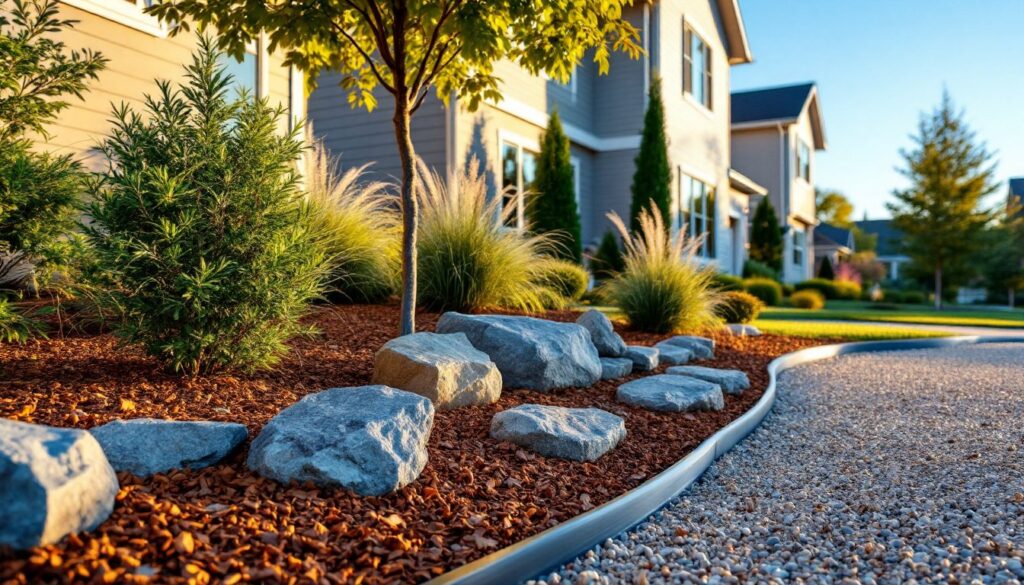
River Rocks and Boulders for Statement Features
River rocks are smooth, rounded stones ranging from fist-sized to melon-sized, typically found in riverbeds or quarries. They cost more than gravel but create elegant visual accents. They’re excellent for edging beds, filling dry creek beds, or creating a Japanese-inspired sensibility.
Boulders (anything larger than 12 inches) serve as focal points. A single well-placed boulder can anchor a corner, define a pathway, or become a sculptural element. Large boulders are heavy, plan on 150 to 400 pounds each depending on stone type and size. Moving them typically requires a dolly, lever, or professional assistance: don’t attempt it solo without proper equipment.
For boulder placement, think about sight lines: position them where they’ll be framed by surrounding plants or architecture, not plunked in the center of empty space. Group odd numbers (one, three, or five boulders) rather than pairs, it feels more natural.
Rock Garden Design Styles You Can Build
Rock gardens don’t follow a single formula. Consider these proven approaches:
Japanese Rock Garden: Sparse, intentional placement emphasizing negative space. Rake gravel in gentle wave patterns around boulders and low plants. This style rewards restraint, fewer rocks, more visual breathing room.
Dry Creek Bed: A naturalistic winding path of larger river rocks suggests water flow without requiring a water feature. Layer rocks of varying sizes and nestle low-growing perennials alongside. This works especially well in sloped yards where actual water runoff occurs, and it can double as functional drainage.
Rock Borders and Edging: Define planting beds with a border of larger stones to prevent gravel migration and create clean visual lines. Install an edging material (steel, plastic, or stone) beneath gravel to hold the border firm.
Scree Garden: A steep slope planted with tough, shallow-rooted plants set among small rocks that mimic alpine conditions. Excellent for poor-draining or rocky soil that would frustrate conventional gardening.
Xeriscaping with Rock Mulch: Replace traditional mulch with decorative stone around drought-tolerant plants (sedums, ornamental grasses, salvias). Stone for landscaping options are extensive, allowing you to match your home’s siding or architectural trim.
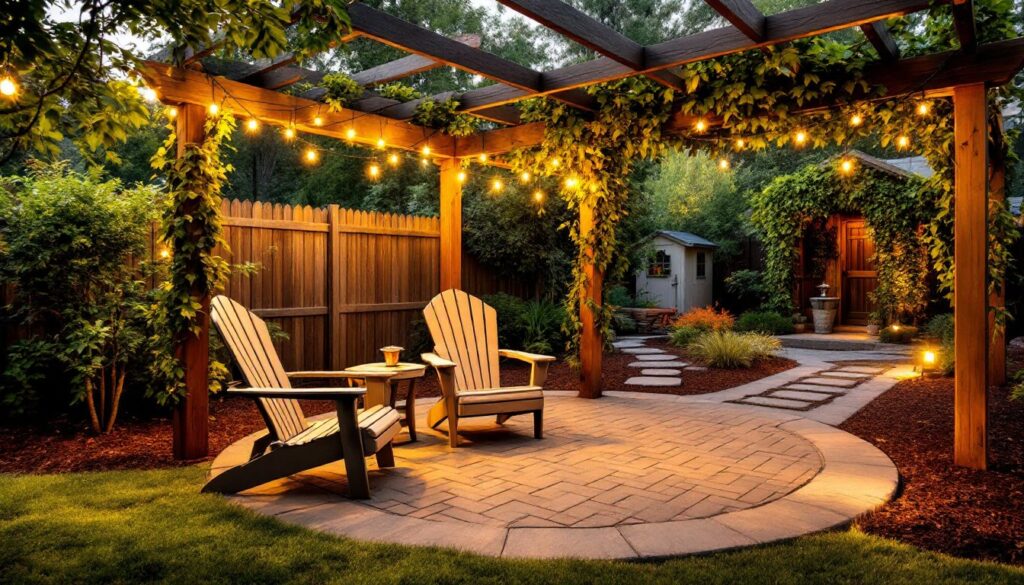
Gravel Patio or Seating Area: Spread pea gravel in a defined space (bordered by sleepers, edging, or retaining walls) to create a permeable, cushioned surface for a seating zone or fire pit area. This avoids costly hardscaping while defining the space.
Boulder Focal Point Garden: One or more statement boulders surrounded by complementary gravel, low plants, and accent lighting creates a nighttime focal point. Boulder landscaping becomes especially striking with uplighting at dusk.
Maintenance Tips for Long-Lasting Rock Landscapes
Rock landscapes require less maintenance than traditional planting beds, but neglecting them invites problems. Fallen leaves, moss growth, and soil creep all degrade the appearance over time.
Clearing debris is the primary task. In fall, use a leaf blower or stiff broom to clear leaves and organic matter from gravel beds monthly during peak drop season. Left to sit, leaves compress, trap moisture, and foster moss and fungal growth.
Weeding is easier with landscape fabric underneath, but some seeds still germinate in gravel. Hand-pull weeds promptly, don’t let them establish taproots. If weeds persist, apply a pre-emergent herbicide in early spring before weeds sprout, or use a post-emergent spray if already present. Always follow product instructions and keep herbicides away from desirable plants.
Raking and leveling prevents low spots from pooling water. After heavy rain or foot traffic, rake affected areas to redistribute gravel evenly. Reset any displaced edging stones.
Top-up gravel every 2 to 3 years. Gravel compacts, migrates into surrounding soil, and gets displaced by foot traffic. Adding a fresh ½-inch layer refreshes the look and maintains proper depth. Order the same type and size you originally used to ensure color and texture match.
Moss prevention matters in humid climates. Ensure good drainage and air circulation around beds. A light moss-killing treatment (potassium salts or copper-based products) applied in spring slows regrowth. In extremely wet conditions, landscaping under pine trees or other shaded areas may benefit from slightly increased spacing to improve air movement.
Edge maintenance prevents gravel from creeping into lawn. Redefine stone or edging borders annually by pulling gravel back to the intended boundary. A half-inch gap between bed and lawn prevents mower damage.
Consult landscaping gravel types resources to understand the specific composition of your material, different stones have different durability and weathering characteristics that affect long-term appearance.
Conclusion
Rock landscaping offers a practical, budget-friendly pathway to a polished backyard. By selecting appropriate materials, planning intentional layouts, and committing to basic seasonal maintenance, you’ll create outdoor spaces that age gracefully and require minimal seasonal fuss. Whether you’re filling a small bed or redesigning an entire yard, the principles remain the same: quality prep work, thoughtful placement, and consistent upkeep. Start small, observe how water and foot traffic move through your space, and build from there.