


Table of Contents
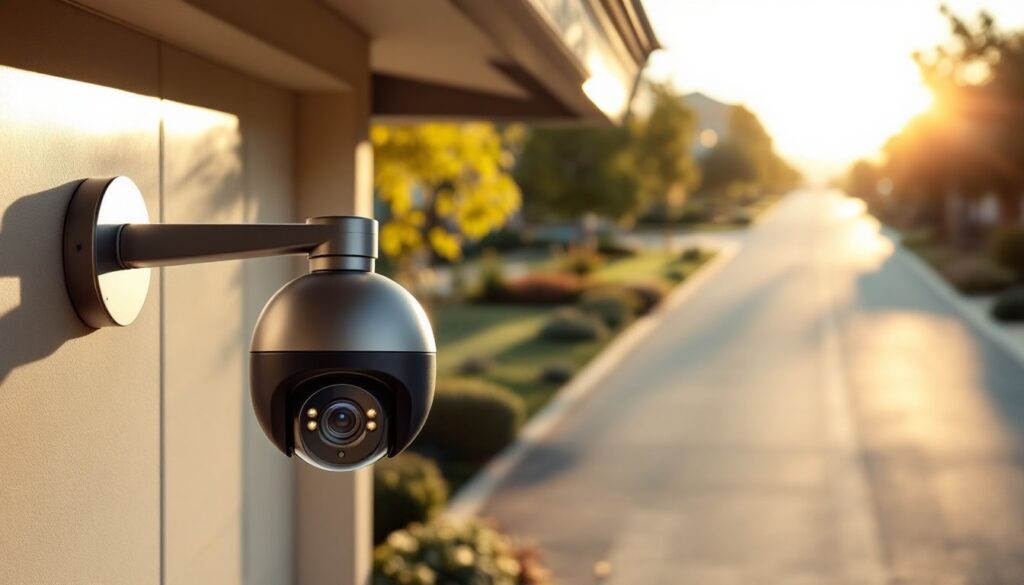
ToggleYour internet goes down. A squirrel chews through a cable somewhere on the street. A storm knocks out service for half the neighborhood. If your home security relies entirely on WiFi, you’re suddenly flying blind. Non-WiFi security cameras keep working through outages, offering a layer of protection that doesn’t depend on your ISP’s uptime. Whether you’re protecting a property in a rural area with spotty connectivity, running a second location, or simply want a backup system that doesn’t need internet to function, understanding your non-WiFi options is critical. This guide walks you through the best non-WiFi security camera systems, how they work, and what to look for when installing one yourself.
Key Takeaways
- Non-WiFi security cameras provide reliable protection during internet outages by recording locally to hard drives or using cellular networks independent of your ISP.
- Wired DVR and NVR systems are the most cost-effective non-WiFi option, typically ranging from $300–$800 for four-camera kits with 2–8 TB storage capacity lasting 1–5 months.
- Cellular cameras offer standalone monitoring for remote locations but work best for intermittent surveillance due to data consumption, costing $150–$400 per camera plus $10–$20 monthly service.
- A 4MP resolution provides the ideal balance for identifying faces and license plates without excessive storage drain on non-WiFi systems.
- Proper installation planning—including cable conduit routing, dedicated power supplies, UPS backup, and hard drive initialization—is critical to avoiding DIY failures and ensuring continuous recording.
- Non-WiFi security cameras eliminate cloud storage subscription fees and keep footage private on your property or closed network, making them more economical long-term.
Why Non-WiFi Security Cameras Matter for Your Home
Most modern security cameras lean on internet connectivity, it’s convenient, flexible, and popular in the market. But that dependency creates real vulnerabilities. Non-WiFi cameras record locally to a hard drive or SD card, transmit data through hardwired connections, or use cellular networks independent of your home internet. When the power stays on and the cable stays intact, you’re recording continuously.
This matters for several reasons. First, reliability: a wired system doesn’t pause if your router crashes or your ISP has maintenance windows. Second, privacy: footage stays on your property or on a closed network, not uploaded to cloud servers. Third, low latency recording: there’s no bandwidth bottleneck, no compression artifacts from streaming over a weak WiFi signal. You also avoid subscription fees for cloud storage that many WiFi systems now demand: many non-WiFi setups use local storage only.
Third, setup simplicity: if you live in an older home or a rural area where stable WiFi coverage is a pipe dream, a wired system or cellular camera doesn’t care about your router’s range. That said, non-WiFi systems aren’t magic. They require more initial installation effort, proper power planning, and understanding of how they store and access footage.
How Non-WiFi Cameras Work Without Internet Connectivity
Non-WiFi security cameras operate on three main principles: wired connections, cellular networks, or hybrid setups. Understanding the difference is key to choosing the right system.
Wired DVR/NVR Systems run coaxial or Ethernet cables from each camera directly to a central recorder (DVR or NVR) in your home. The recorder stores footage on an internal hard drive, typically 1 TB to 16 TB, and you access it by walking over to the device, connecting via HDMI to a monitor, or accessing it from your local network using a wired connection or a dedicated app that doesn’t require the internet (though some models offer optional cloud backup). Footage cycles and overwrites as the storage fills, so you’re always retaining the most recent days or weeks depending on resolution and recording mode.
Cellular Cameras operate independently, using built-in 4G/LTE modems or eSIM chips. They connect directly to cell towers, bypassing your home WiFi and broadband entirely. These cameras usually pair with a smartphone app over cellular data, letting you check in from anywhere. They typically cost more because they include cellular service and often require a monthly plan, but they’re invaluable for remote locations or as a standalone backup.
Both approaches guarantee recording even if your internet fails. The trade-off: you’ll spend more time pulling cables or paying for cellular plans, and remote access requires either your phone’s cellular data or a direct local connection.
Top Non-WiFi Security Camera Systems Worth Considering
Wired DVR and NVR Systems
DVR (Digital Video Recorder) systems use coaxial cables and analog cameras, while NVR (Network Video Recorder) systems use Ethernet and IP cameras. NVR systems are faster to set up, support higher resolution, and use standard network cables, but both work without WiFi.
Look for systems with 2 TB to 8 TB hard drives depending on camera count and recording resolution. A four-camera 4MP system recording 24/7 will fill a 2 TB drive in roughly 30–40 days: 8 TB gives you 4–5 months of coverage. Most units support motion-triggered recording to extend that window. Key features to prioritize: a backup power supply (UPS) so recording continues during brief outages, night vision with IR LEDs for low-light capture, and easy firmware updates. Brands like Hikvision, Dahua, and Uniview are industry standards: they’re reliable, parts are available, and installation guides are abundant online. These systems typically cost $300–$800 for a four-camera kit, plus labor if you hire someone to run cables through walls.
Cellular and 4G-Based Cameras
Cellular cameras shine when you need a single camera protecting a gate, a second property, or a garage away from your main WiFi. They’re self-contained: no recorder box to install, no cable runs. You insert a SIM card, activate a cellular plan (usually $10–$20/month), and the camera uploads snapshots or video clips to the cloud or your phone.
These cameras work best for intermittent monitoring rather than continuous 24/7 recording, since cellular data adds up fast. Some models offer local recording to an SD card as a fallback. Battery-powered cellular cameras exist, but plug-in models with a hardwired connection offer reliability. Pricing runs $150–$400 per camera, plus monthly service. Products from providers like Digital Trends reviews connected devices that include solid cellular options, and comparisons at CNET provide product reviews showing real-world performance and hidden fees.
Key Features to Compare When Choosing a Non-WiFi Camera
Resolution and Frame Rate: 4MP (2688 × 1520) is the sweet spot for wired systems, clear enough to identify faces and license plates without excessive hard drive drain. 8MP offers more detail but doubles storage consumption. Frame rate matters less for security than for motion clarity: 30 fps is standard and sufficient, while 60 fps adds smoothness for a slight storage penalty.
Night Vision and IR Range: Infrared (IR) LEDs let cameras see in darkness. A 30-meter IR range covers most residential properties: beyond that, you’re paying for overkill. Check the camera’s minimum illumination rating (measured in lux): lower is better in very dark conditions.
Recording Modes: Continuous 24/7 recording uses the most storage. Motion detection triggers recording only when activity is detected, stretching your hard drive lifespan. Scheduled recording (e.g., record 6 pm to 6 am only) is a middle ground.
Hard Drive Redundancy: RAID 1 mirroring duplicates data across two drives, protecting against a single drive failure. It costs more but matters if security footage is critical for insurance or legal evidence.
Viewing Options: Can you access footage remotely without WiFi? Wired systems typically require a local network connection or a dedicated app. Cellular cameras work over their own data connection. Some NVR systems offer optional paid cloud backup, letting you pull clips if the recorder is damaged.
Cable Quality and Connectors: Look for PoE (Power over Ethernet) on NVR systems, it powers cameras and transmits video through a single Ethernet cable, simplifying installation. With DVR systems, you’re running separate power and coaxial cables. Home Security Cameras Installation guides detail cable routing best practices.
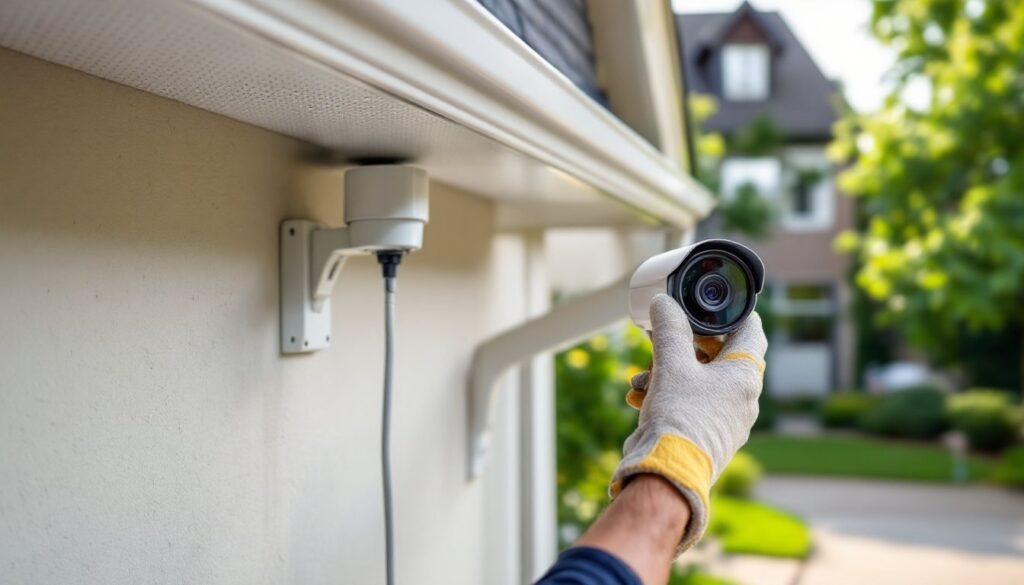
Installation and Setup Considerations for DIY Homeowners
Non-WiFi systems reward proper planning. Rushing through installation is where most DIY failures happen.
Planning and Layout: Walk your property with a tape measure. Mark camera locations, eaves near entry points, driveway approaches, side yards. Measure cable runs from each camera to your recorder location (usually an interior closet or garage). Account for corners, conduit, and the path inside walls. Most installations need conduit or cable-running clips to keep wires secure and protected from weather and rodents. Budget 30–50 feet of cable per camera: longer runs get expensive and harder to fish through walls.
Power Supply: Wired systems need a dedicated 12V power supply (2–5 amp depending on camera count) installed in your recorder location. Ensure the outlet is protected by a GFCI breaker if it’s in a damp area like a basement or garage. A backup UPS (uninterruptible power supply) costs $100–$200 and keeps recording through power blips. Size it to run cameras and the recorder for 30 minutes, long enough for a brief outage or to gracefully shut down during an extended blackout.
Cable Installation: Run cables in conduit, not directly through walls or under siding. If you’re not comfortable fishing cables through walls, hire an electrician, a few hours of labor beats damaging insulation or hitting existing wires. Coaxial cables (DVR) need strain relief at connectors: Ethernet cables (NVR) can handle tighter bends but shouldn’t be kinked sharply.
Hard Drive Setup: When your recorder powers up for the first time, initialize the hard drive in the unit’s setup menu, not your computer. This formats it for video storage. Create a user account with a strong password, default credentials are a security risk. Set the recorder to your local time zone and configure backup power schedules if supported.
Testing: Walk each camera’s line of sight. Adjust angles so they capture doorways, driveway entries, and vulnerable areas. Test night vision: IR should illuminate clearly without glare from reflective surfaces. Record a 5-minute test clip, then review it on the monitor to confirm quality and focus. If image is soft, adjust lens focus (some cameras have a focus ring).
Documentation: Take a photo of your cable routing (especially where cables exit walls) and label conduit with camera numbers. Save your recorder’s manual and your login credentials in a safe place. If something fails months later, you’ll thank yourself for clear notes. Home Security Cameras guide covers broader setup best practices. For comprehensive reviews comparing models without subscriptions, Tom’s Guide reviews non-subscription cameras that align with this philosophy.
Moving Forward with Non-WiFi Security
Non-WiFi security cameras aren’t trendy, but they’re reliable. They work when internet fails, cost less over time if you avoid cloud storage fees, and record locally so footage stays private. The upfront installation is heavier than a WiFi system, but you’re trading convenience for independence. Measure twice, run your cables carefully, and choose a recorder with enough storage for your needs. Your security system will keep working long after the power comes back on.